How do I divide my form into pages? |
By adding the Page break item to your form on the position you wish the new page you instantly create multiple pages.
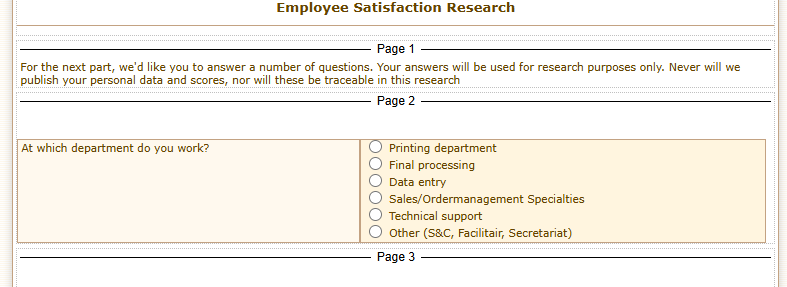
The free space above the first page is used for the header.
|
 |
|
|
The header |
The header is the part of your form that is placed above the first page break. This part is visible on all pages of the form, and is, for instance, useful for adding a corporate logo.
To create a header simply add an item before the first page break.
|
|
When you've included these items, the form will look like this on the Questions tab: |
 |
|
|
Numbering pages |
Using the [abc] button you can add a system code in your form item indicating the current page number and total pages.
You could, for example, include the following text in your header:
Page no. [_fd_PNO] of [_fd_TPNO] pages.
|
|
|
Entry validation |
By default the entry validation is invoked when the user clicks the submit button.
If any question is not answered correctly , the form returns to the page on which the question is placed. Also, a warning message is displayed.
On this page the submit button will also appear, so the user doen't need to browse through all pages again.
On the settings tab you can specify the entry validation to check by page. This will invoke the entry verification when the "next" button is clicked.
If any question is not answered correctly , the form returns to that question, and a warning message will appear. You will not be able to proceed to the next page until all questions on the current page are answered correctly.
|
|
|
Creating a "wizard" using Dependencies and Multiple Pages |
Using the Dependencies feature, you can have pages appear (and disappear) depending on the answers of earlier questions.
Combining the Dependencies and the Multiple pages features allows you to create so called "wizards", which enable you to "guide" the users to the questions they needs to answer.
To see what this combination may look like, try this sample Wizard.
|
|
|
Remark |
|
All pages are loaded at once. The form will not need to connect to the internet again until all questions are correctly answered and the submit button is clicked. |
|
|
|
|
|
|
|